Showing posts with label In the Kitchen. Show all posts

Sunday, June 2, 2019

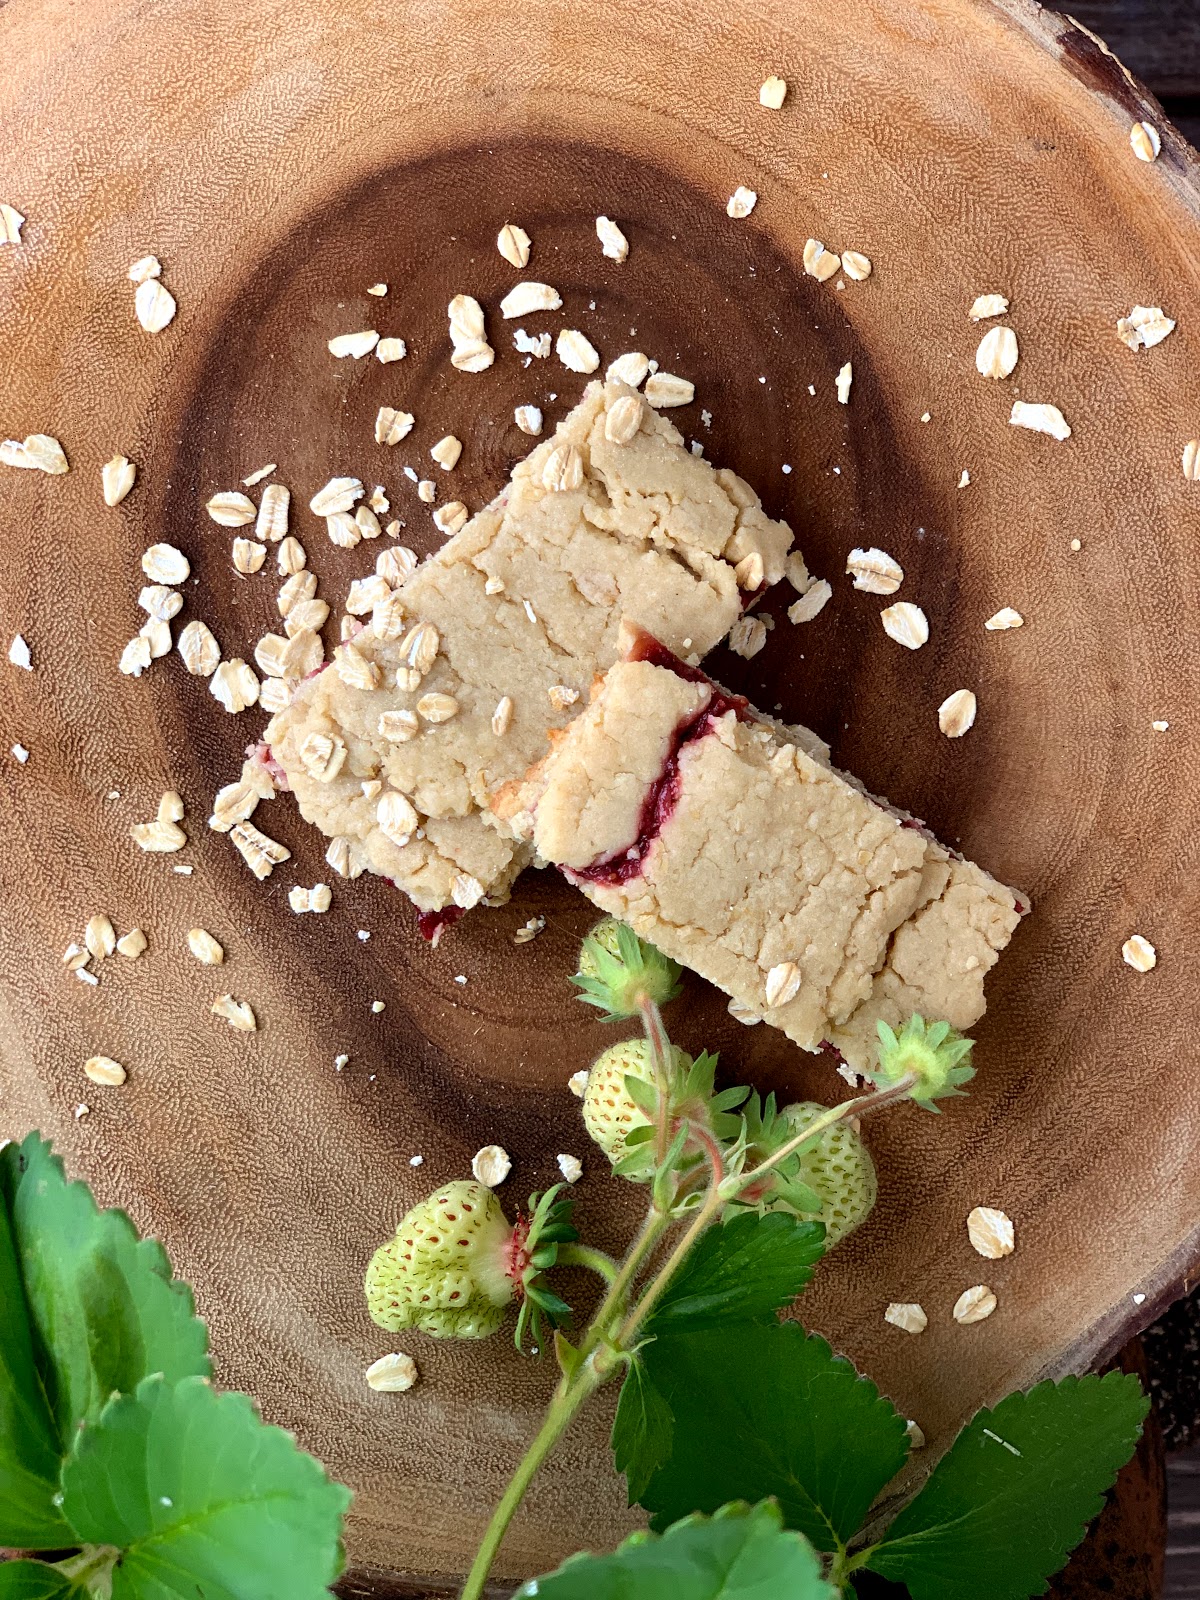
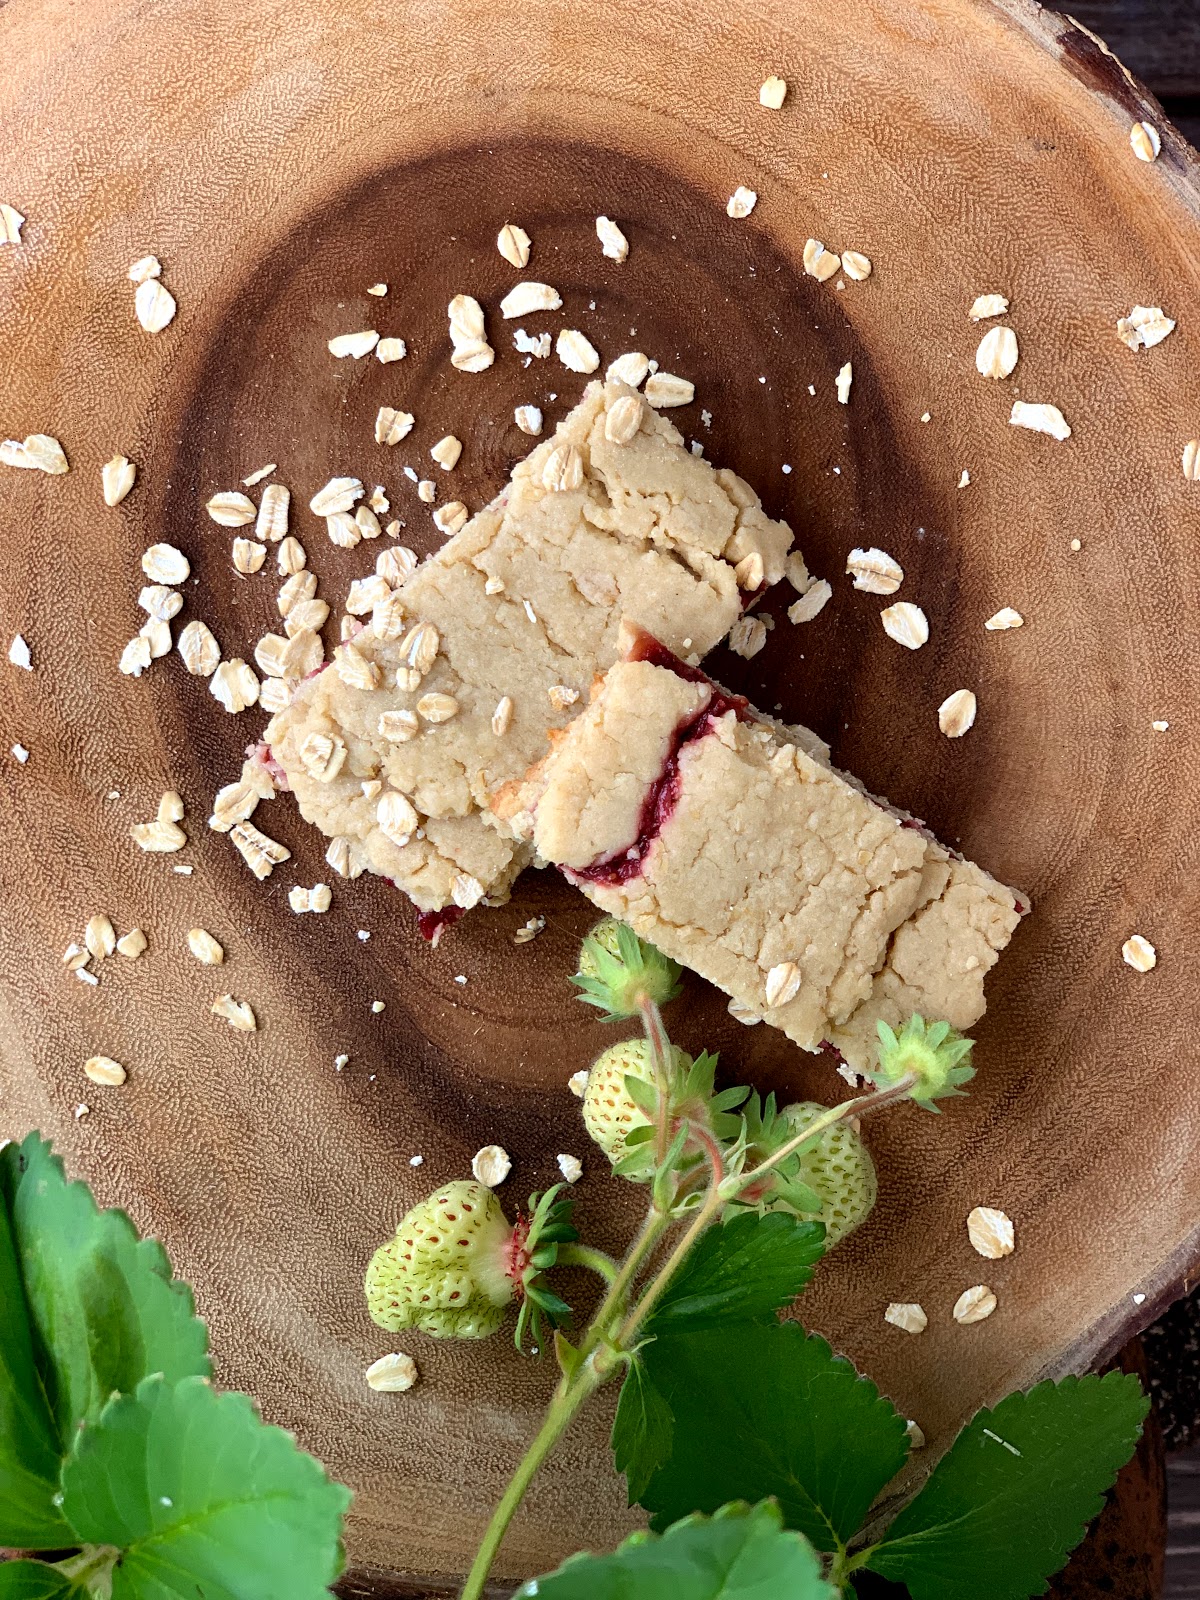
Strawberry Cereal Bars

I've been doing a lot of learning lately and I'm in this "Know Better, Do Better" mindset.  Which brings me to cereal bars at the store....what types of ingredients are in those things to make them shelf stable??? Probably not the best for us...not to mention the individual packaging which is anything but sustainable.  My kids love these bars so I wanted something better for them, I took to the google and looked at many recipes to form my own #yourewelcome


Y'all I cannot even tell you how yummy these are!! SO so good and way better for you too.  We're making the switch to organic over here, which is a long process but what you eat is what you are.  
* Did you know that crops that are sprayed with Roundup or other pesticides soak it up and they become part of the produce you're eating 💀💀💀 I don't know about you but my family's health and well being is worth the extra $$ to eat organic.


Here's What You Do:

Ingredients

1 cup organic flour
1 cup organic whole wheat flour
1/2 tsp salt
1 tsp baking powder
1/2 cup honey
1/2 tsp vanilla
1 egg
1/2 cup butter, cut into pieces

Filling Ingredients

1 cup frozen strawberries
2 Tbsp organic sugar
1 tsp water


Directions 

Preheat oven to 350

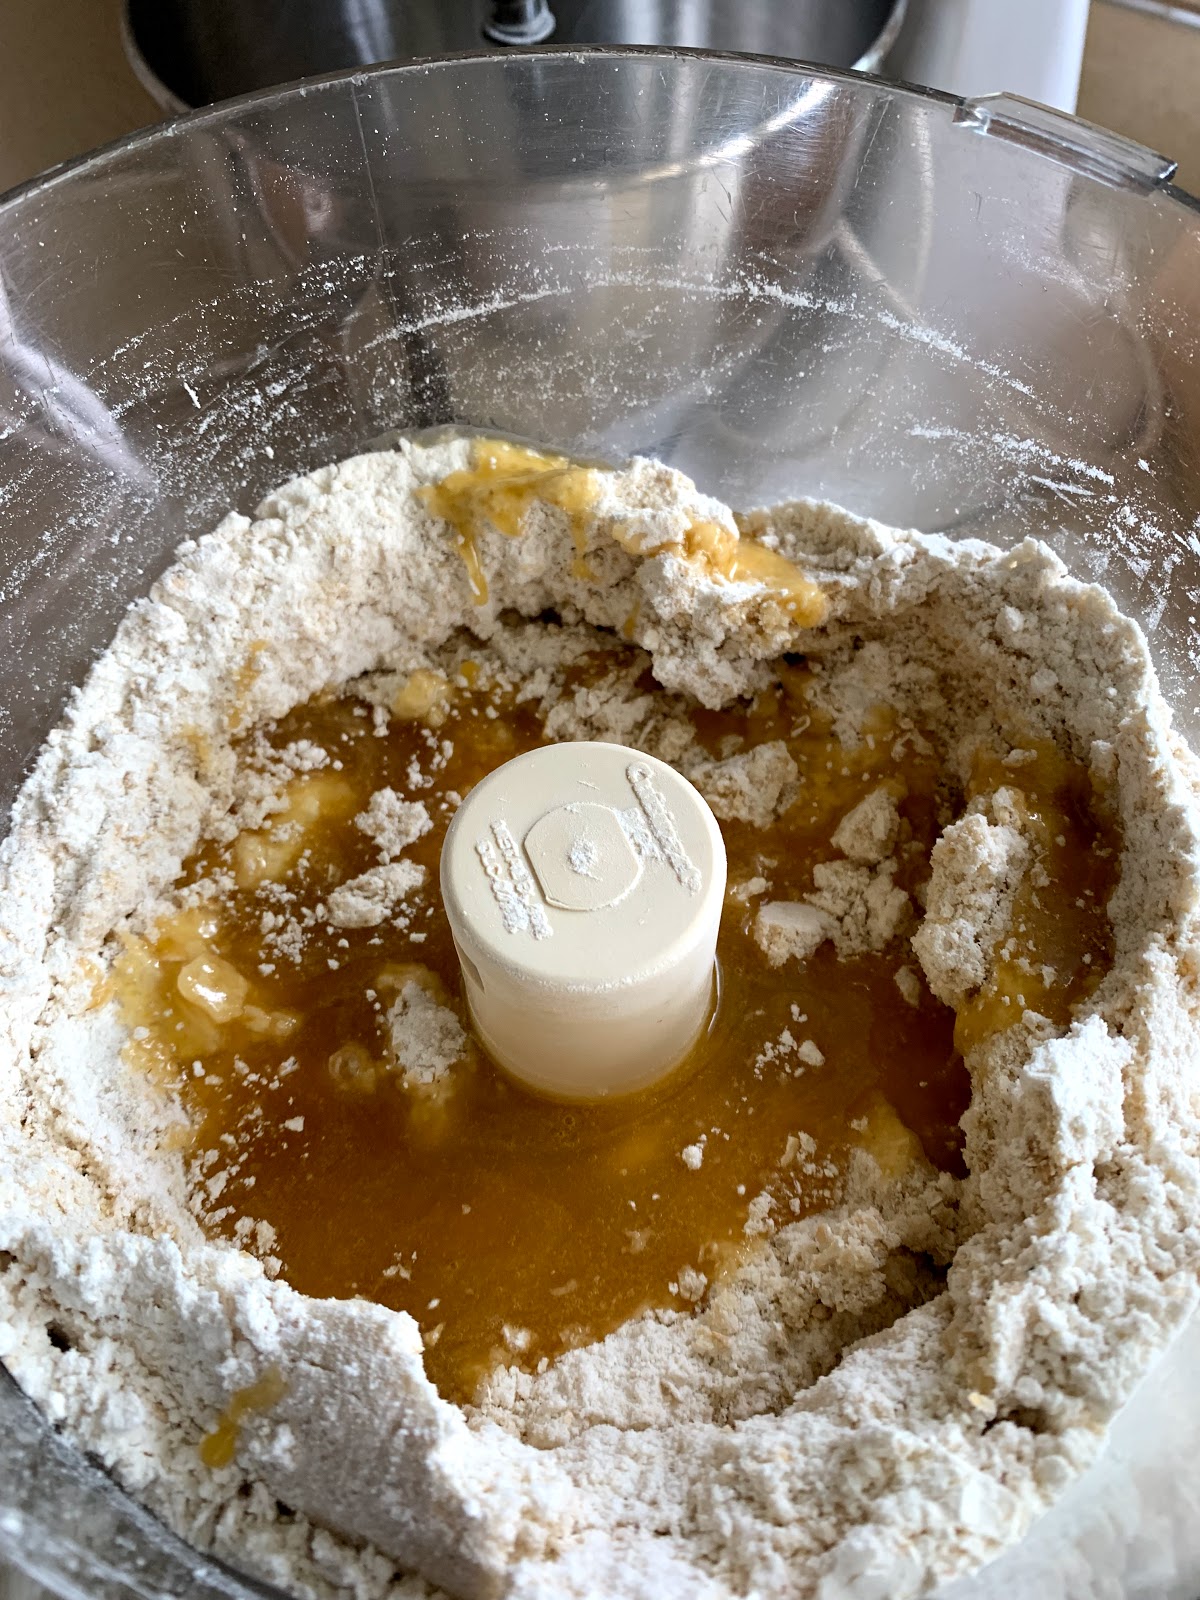
1. In a food processor pulse oats into a coarse flour. Add in the other two flours, salt, and baking powder and pulse to combine.


2. In a separate measuring cup whisk together egg, honey, vanilla, and cinnamon bark vitality.


3. To the food processor add in butter and honey mixture and pulse to combine.  Dump out onto counter and divide into two.  Form into disks, cover in plastic wrap, and put in the fridge for an hour.


meanwhile 

4. In a saucepan on medium-low heat, bring water, frozen strawberries, and sugar to a low boil.  Simmer until reduced in half (jam like consistency), then set aside to cool.


5. Bring dough out and roll into a rectangle on parchment paper.  It's pretty crumbly so it takes some work to keep it together, but it's worth it.  Pour half of the Strawberry Filling down the center of the dough and fold over in thirds. Place onto a baking sheet and bake for 15-18 minutes.


6. Let cool and cut into bars.  Keep in a glass container in the fridge for 5 days (if they last that long).


If you make these, please let me know how they turn out!

♥ Ashley

Friday, January 11, 2019

Friday Favorites!!


I can't believe that it's Friday already...this year is already flying 😆


I finally finished up our Kitchen reface and let me tell you...it just looks so much better. I sanded, painted, sanded, painted and sanded the cabinet doors and drawers...and let the coats dry for quite some time in between (patience is always the hardest).  I also sanded and painted the bases, which really needed to happen in addition to spray painting our hardware oil rubbed bronze.  It was a relatively cheap project since all I needed to buy was sandpaper!  I was also able to give each of the cabinets and drawers a thorough cleaning since I had to completely empty them out.


I am participating in the January Cure again this year and it's so nice to be given simple and easy daily tasks to clean our home and tips to keep it up year long.  Some of my favorite tasks are cleaning out a drawer (which then turns into many), deep cleaning the bedroom, and cleaning all of the floors everywhere (under furniture, in closets and including the baseboards).  My other favorite task is the permission to buy flowers every week!!


Last year my Word of the year was Let Go.  It was the perfect word for me because I have been hanging onto so many things (mentally, emotionally and physically).  By focusing on Letting Go, I gained so much freedom and grew a ton.  I was able to get rid of boxes full of home items, clothes, trinkets, etc.  Just the extra space has been amazing not to mention less stuff to clean and collect dust.  I started listening to a couple of minimalist podcasts during the year and they were so helpful in my transformation.  I have also been able to let go of some control (unbelievable I know 😆😆), the girls have gone on sleepovers over at Nanny and Papa's, I was totally go with the flow with Séamus crazy birth, and I'm not always following behind and correcting everything in the house after Thomas 😂.  Probably one of my favorite self developments I've worked on ever! This year I'm focusing on Embrace! I cannot wait to see how this year pans out!


I got this diffuser for Séamus nursery and I love it!! I'm not of the camp that everything under the sun needs to come from Young Living, don't get me wrong I absolutely adore my YL diffusers and the customer service is top notch.  But when I came across this one I just knew it would be perfect!  It has two diffusing settings: 1hr high or 13hr intermittent.  It also has a couple of lighting options and the plastic design is super kid friendly.


Young Living just announced their January Jump Start Sale!!! Y'all you can get 10% off the Desert Mist Premium Starter Kit January 11-14th!! Bringing it down from $160 to $144 PLUS I'll send you an additional $25 back, Heck yes!!! I also have a special going for anyone who enrolls with me through the 14th and you DON'T want to miss out on this!! The Premium Starter Kit is the best way to get started, you get 11 of our favorite oils (I seriously use these almost every day), the Desert Mist Diffuser...my favorite ever! Plus samples of Thieves Cleaner (y'all know my love affair with this) and Ningxia Red (if I could sing a song!!).  In addition to all of this you'll get your wholesale membership getting you 24% off of future purchases of everything forever!! I will be available to help hold your hand AND you'll get access to our member exclusive online communities that are absolutely priceless!! I would love for you to come Oil with Me!!!


♥ Ashley

Monday, March 12, 2018

Things I'm Loving - kitchen edition


Today I wanted to share with you all the things that I am loving for the Kitchen!  Ever since we moved into our house (10 years ago) I have wanted to remodel the kitchen...we made the first big change back in 2010 and painted the oak cabinets white.  It really brightened up the space and modernized it but still leaves for some things to be desired.  We're entertaining the idea of an addition to our house or possibly moving in the next few years.  So I'm really unsure if I want to invest in a new kitchen when  we might be moving, how about let's leave it to some accessories to tide me over until we make a decision, shall we? ;)


Lately I am all about the natural elements.  Give me all the wood slices, marble, slate and a touch of metal and I am one happy camper.

I adore this cake stand because it combines two of my favorite things right now...marble and wood!!  Can't you just see it on the counter piled high with all sorts of baked goodies?  Try these butterhorns, they're delicious!

Trays are always just a great thing to have in the kitchen you can either lean them up against the backsplash or use them as a place to corral your countertop staples like salt, pepper, and oil.  I have a wood one (similar) I picked up at HomeGoods and I love it, and how about this agate one? use it for a touch of whimsy and elegance! If you're dreaming of adding a touch of marble to your kitchen (like I am because marble countertops are just not going to happen) this marble cutting board is on point or how about this awesome marble slab?  I actually have this and it has made a huge improvement on my pie crust abilities.  Or if you are really into both pick up this wood and marble board - the best of both!

I didn't know about spoon rests until I lived in an apartment in college (that was one of the only good experiences I had out of that...).  I actually have a mellamine one that has a beachy coral theme to it because back in the day I thought I wanted to have a coastal home on the farm...silly girl, but now I have found this wood and marble spoon rest and I can't stop thinking about it!!  I think it's time for an upgrade, don't you?

For all you coffee lovers please take a look at some of these goodies.  Up until a couple months ago we used to make our coffee with a French Press, I am loving this copper one, y'all it is seriously the best way to make coffee but I ran across this little diddy a Poor Over Coffee Drip and it looks so freaking cool.  I just want to have it out on my counter as a talking point for when guests come over ;)  I already have this mug tree but I'm loving it in white and then there is gold!!!  Not sure which color I want.

When it comes to pots and pans there are so many options out there.  But the one pan that I keep grabbing for time and again is my Cast Iron.  I have done a lot of reading on how to care for them and I might be using it all the time because it is always out on my stove top or in the oven drying out ;) They are seriously so versatile; you can fry, you can sear, you can bake or even take it outside over the fire!! Talk about getting your money's worth outta one of these! And when you find yourself doing as much frying and searing as I have been doing you're going to want to pick yourself up a splatter screen.  You just put it over the top of your pan and it helps keep all the splatter from getting all over your kitchen - cleaning lifesaver!! Since we are talking about fat and oil nothing ruins a soup or gravy like all that fat from the juices.  It's really a simple fix, a fat separator will do the trick.  I refuse to make (or eat) gravy without using one. 

If you didn't know I am also currently obsessed with copper lately.  It has such a fun modern vibe to it but it lends itself well to my farmhouse style I am trying to create in our home.  While these babies may not be out on display all that often they would get daily use in my house.  Our current measuring cups are from our wedding and have seen better days...so why not add some bling to my cooking and baking with some copper measuring cups? I am also really in love with these rectangular measuring spoons, I picked up my own set several months ago and I love how they can fit into all my spice jars.

I love the idea of storing all your pantry items in glass containers.  These weck jars are so beautiful and I can think of a dozen uses for them!  They are perfect for all those smaller items you pick up like baking soda, baking powder, or specialty salts and sugars!!  I am in desparate need of some new large storage jars for my flour and sugar.  I have tin ones that work great but I can't see how much I have left or tell which is which...getting  some new glass jars will solve my daily dilemma and since I use a lot of flour I am in need of some big jars.

We do a lot of hand washing in our house and I wouldn't be able to do it without this dish drying mat.  It cushions my more delicate dining items and soaks up the water effortlessly and it's a nice neutral color that it doesn't create an eyesore on my counter.  Before I picked this up (years ago) we would just use a dishtowel but it never did the job as well.  So do yourself (or your husband) a favor and pick one of these up.

♥ Ashley

Monday, March 13, 2017

Our Weekend - the zoo, beach, and Beauty and the Beast party

We had ourselves quite the weekend.  Spending time with my family fills up my soul and watching these two girls is just about everything.

On Saturday we were up and at 'em early (per usual) because we had a Beauty and the Beast event at our local Disney Store!!  We are Disney card holders and that comes with some perks.  So Ellie got dressed up in her Belle's finest and we made a morning of it.


All the kids got to watch some previews of the upcoming release, join in some activities and make a paper Chip cup! It was so cute and Ellie had a blast.  Once the event was over we had time to shop in the store before they officially opened for business.  (the even started 1 hour prior to opening)


After we finished up at the Disney Store we walked around the mall and then took the girls to the play area (it was nutso!!) and it was so fun having them play at the mall that I grew up going to.  While we were there we ran into Ellie's cousin so they had some fun running around together.


We headed home for naps and then when the girls woke up we made our way to Target.  I am always on the lookout for something green (no matter what time of year) for the girls and when I spotted these dresses I just couldn't help myself!!  They each got one and I am so excited for them to be twinning on my birthday this Friday!!!

and I stopped to look in the dollar spot...nice work Target way to follow instructions (lol)

Later that night Ellie really wanted to do some painting.  So I got out all the supplies, printed out my "stencil" and finished up Finnley's birth stats artwork!  The flowers were all free hand and then I used the old school carbon copy technique to paint the lettering.  It's a little crooked but that's okay.


Sunday morning was like any other day.  We got up at our regular "time" and made a day of it.  We started with the zoo and everyone had a great time.  Finnley was all bundled up as was Ellie and I was just glad I remembered a vest...one of these days I'll have cold weather figured out.


The zoo has a bunch of Peacocks that just wander the property and it's so fun spotting them.  Also they had the vet out to check out the Penguins so we had fun watching the staff corral them into a corner.  It was a great day to be at the zoo, all the animals were so active.  The apes were swinging all around, the Tapir was running and jumping and the Walrus was whistling all day (you could hear him all over the zoo).


After the zoo we made it to our favorite Fish'n'Chips place and checked out the beach front afterwards.  I love these two girls and I cannot wait for Finnley to be walking on her own so we can get some killer shots of the two of them.  But for now I will take all of these I can get.


We stopped at one of my favorite stores to get ingredients for dinner and the floral dept gave both of the girls free flowers!  I'll take them ;)


Ellie was so tuckered out on the way home she fell asleep in mid bite of her cake pop!!


Once home we tried to convince the girls to continue their naps, I went out and did a deep clean on the chicken coop (our plan is to convert it into a playhouse this summer) and then made dinner, trying to get our Irish spirit on for my upcoming birthday!! Irish Brown Bread, my first time making it and it was so easy, and Shepherd's Pie with lamb.  It was bomb dot com!!!

♥ Ashley 


Tuesday, August 2, 2016

Applesauce Oatmeal Muffins with Cinnamon Sugar Topping

Quite a few weeks ago I had some applesauce that needed to get used. I was going to make applesauce cupcakes but was inspired by this recipe to make muffins!!  And let me tell you I am so glad I did.


I wanted to change up the recipe just a bit because I wanted to include some other ingredients mainly some oatmeal because of the dietary benefits.  I considered some other recipes but most of the applesauce recipes I could find were for cupcakes rather than muffins so I had to adapt the recipe.

Here is what I did:

Ingredients:
1 c softened butter
2 c sugar
2 eggs
2 tsp vanilla
2 c applesauce 
3 c all purpose flour
1 c oatmeal
1 tsp baking powder
1 tsp cinnamon
1/2 tsp nutmeg
1/2 tsp cloves

Method:
Preheat oven to 350°
1. In a stand mixer cream together the butter and sugar
2. Mix in the eggs (one at a time) with the vanilla
3. Add in the applesauce
4. Combine the dry ingredients and then slowly add into the wet mixture until just combined
5. Evenly distribute batter into lined muffin tins (about 24)
6. Bake for 20-24 minutes or until a toothpick comes out clean

Topping:
While the muffins are cooling for 5 minutes make a cinnamon sugar mixture (1/2 c sugar & 2 T cinnamon) then dip the tops of the muffins in the Cinnamon Sugar. YUMMM!!

These were so good and I can't wait to make them again.  I think I will use some whole wheat flour next time and see how the texture turns out.

Bon Appétit!

♥ Ashley


Tuesday, May 3, 2016

{Tasty Tuesday} 3 Ingredient Guacamole

Y'all I've been keeping a secret from you and I thought I would share it just in time for all of the Cinco De Mayo Fiestas that are about to happen.
 Seriously it's the best guacamole you've ever had and is super easy with only 3 ingredients!!! 


My mom used to make this all the time and I have to say that it has totally spoiled the way any other guacamole tastes.  I'm a purist and this recipe truly lets the avocado shine in this dish. 

Not only did I grow up with this guacamole, but my mom did too.  I remember her telling me that she secretly liked going to her neighbors house for the guacamole as a kid because they put mayonnaise in theirs.  Then she got a little older and realized the star of guacamole is the avocado and changed her ways - lucky for all of us!!

It really can't be any easier.  Here is what you are going to need.

Ingredients:
Johnny's Seasoning Salt 
Garlic Powder 
Avocado (however many you want, more is always better)

**I have heard that there are lots of different types of seasoned salt but Johnny's is my favorite and if you get it at Costco it doesn't have MSG!! #winning  And then my mom swore by Spice Islands for the Garlic Powder and she was the authority, so it's the only kind I buy.**  

Method:
- Slice your avocado(s) in half, remove the pit, and scoop out deliciousness into a mixing bowl.  
- Shake some garlic powder on the avocado about 1/4 tsp per avocado and then some Johnny's to taste.
- Using a fork, smash up and combine the avocados and the seasonings.
Enjoy!

I love to just snack on this with chips, on toast, or in a sandwich.  It's so good!

and if you're wondering these are my favorite tortilla chips...not too salty and just the right crunch!

I can't get enough!!


Buen Provecho!!

♥ Ashley