I LOVE The Coop so much and I love our chickens so much more too
We decided to wait at least a year before getting a new flock of chickens...about 6 months into that waiting year, I began to dream up our next flock. We repurposed our old coop into The Playhouse for the kids so I knew they would need a new place. We let our dogs out to run around so I had a feeling that having them be completely "Free Range" wouldn't work for the time being and wanted to move them in with the goats. But there was the issue with their food - goats can escape and get into just about everything so I needed to be able to protect their food. So I figured we could section off a corner of the goat paddock for the chickens...utilizing the existing barn as part of the fencing and then walking the run to figure out the best placement for The Coop.
*this configuration helped to solve another problem of creating a second barrier to keep the goats out of our yard...I am determined to have strawberries this year. Now the goats will have to pass through 2 gates before they're in our yard, which gives the kids a couple chance to be responsible 😂

Now about our girls and the flock I envisioned. I want our chickens to be fun to look at, diverse, and I am picking them solely on their eggs. I had narrowed it down to about 6 chickens total for our new flock and really wanted to make sure we had a good number of green/blue egg layers and then some dark brown egg layers. So my top choice were Americauna's or Easter Egger's for the blue/green eggs and Copper Maran's for the dark brown. That might not be the right blend of egg colors so I'll probably go with a light brown egg too and I'll most likely choose a Buff Orpington since I've only experienced sweet docile chickens from that breed.
So, my search was on. I was getting "late" into the game and was hoping to get some older chicks. I asked around and found a local friend who happened to have 1/2 of what I was looking for ready to go!! She had my green/blue egg layers ready and guaranteed to be pullets, so we made a date to meet and I took Ellie with me to pick up our girls: 2 Easter Egger's and 1 True Blue Whiting.
They are so adorable. We’re all just completely smitten with them. Ellie was ecstatic about the chickens, I let her name them and she came up with Dusty, Pochahontas, and Pepper.

We kept them in the old Goat Barn with a heat lamp to keep them warm and safe while I planned and built The Coop.

Preparing their run. When we decided to get the chickens I grabbed this book and read it in 3 days. I was completely convinced that free ranging the chickens and allowing them as much space, habitat, and plant life was going to help us raise very healthy and happy chickens.
Y’all they have so much space here. We fenced off a section of the Goat Paddock with some fencing I saved and used an extra gate we had on hand. Then we dug up a couple hazelnut sapling volunteers and transplanted them in the chicken run to help create a more natural habitat. I still have plans to add more vegetation and trees in here (for both the chickens and our neighbors).


Using as much or all repurposed materials from our farm was the driving force behind my Coop design. We had a ton of cedar boards from when we took down our fence and quite a bit of 2x4s left over from other projects
I’m definitely not one for angles (geometry and I are not the best of friends) so I wanted to go with a simple design.
The measurements are roughly 3ft wide by 6ft long and a foot difference in height from front to back, so about 4ft and 3ft to account for the slope of the roof. The layer box is centered and has an opening for a door on the backside. The north end of the structure is a door that opens completely for easy cleaning and any maintenance that needs to be done. The studs in the front are evenly spaced and I plan to cut a small chicken door (hopefully just big enough for the chickens and small enough to keep the goats out. I also plan to raise the structure about 1-1/2ft off the ground.

It was so fun letting the chicks explore while I was building their Coop and Ellie loved all the time together.

After I built the frame I wanted to raise it off the ground and then realized the error of my planning with the floor boards. I needed some extra reinforcements to keep the whole the together - definitely would take that into account the next time.
Thomas helped me lift it up onto its platform and it really started to take shape.

Next up was the siding. I designed The Coop to be just long enough for our cedar boards and thankfully my measurements added up. Along the front I was able to cover completely with the boards, since they were notched at one end I decided to alternate them to make a pattern. Then had to get a little creative on the back and sides. You can see the overhang below, where I entrusted Thomas to skill saw it off.

He did a great job! The boards were old and dirty...chickens are special creatures and quite fragile, so I had to wash the whole Coop down both inside and out. I sprayed and used a scrub brush and was taken aback at the beauty of the wood.


This cleaning process showed me that I needed to bring in some gravel around the coop to assist with the drainage. Luckily we had a pile in with the goats so it was an easy fix.

Letting the girls check it out and trying to figure out what to do about the floor. I told you I messed this whole thing up. *Lesson learned lay the floor down before attaching the walls.


If we learned one thing from our old chicken coop, it’s that open stud walls are disgusting and extremely difficult to clean. So I grabbed some extra wainscoting from The Playhouse and used it to create some interior walls. While it was for function, the wainscoting is absolutely adorable. I also had to fit some extra 2x4s at the top of the wainscoting to prevent anything from slipping between the walls. And for good measure I had Thomas caulk all the seams. We cut out the little chicken door and let the kids play and explore The Coop because they were just so interested in it.


Then came the real dilemma...to paint or not to paint I knew a fresh coat would be necessary for the bottom half but is just didn’t know if I wanted to paint over all the beautiful cedar boards. I finally decided that the inside should at least get a fresh coat to make it all look super clean. The girls were so excited to come and help and it was a huge learning experience...who knew that painting walls wasn’t an innate skill, lol.


It was so beautiful and I didn’t feel bad about the wood at all. The decision was made to paint the whole Coop white and I was ridiculously giddy about it. I also got to work on building the layer boxes. I wasn’t quite sure how it was all going to go but figured that three was the right number for the space, grabbed some extra wood scraps and put it together. Damn it was freaking heavy...at least I left some of the studs exposed so I could utilize them for making supports for the layer boxes. It took some trial and error...and the building of the door was quite the adventure. All in all it came together and I LOVE them. We never had layer boxes for our first flock of chickens so, I’m excited to see how these ones work out.

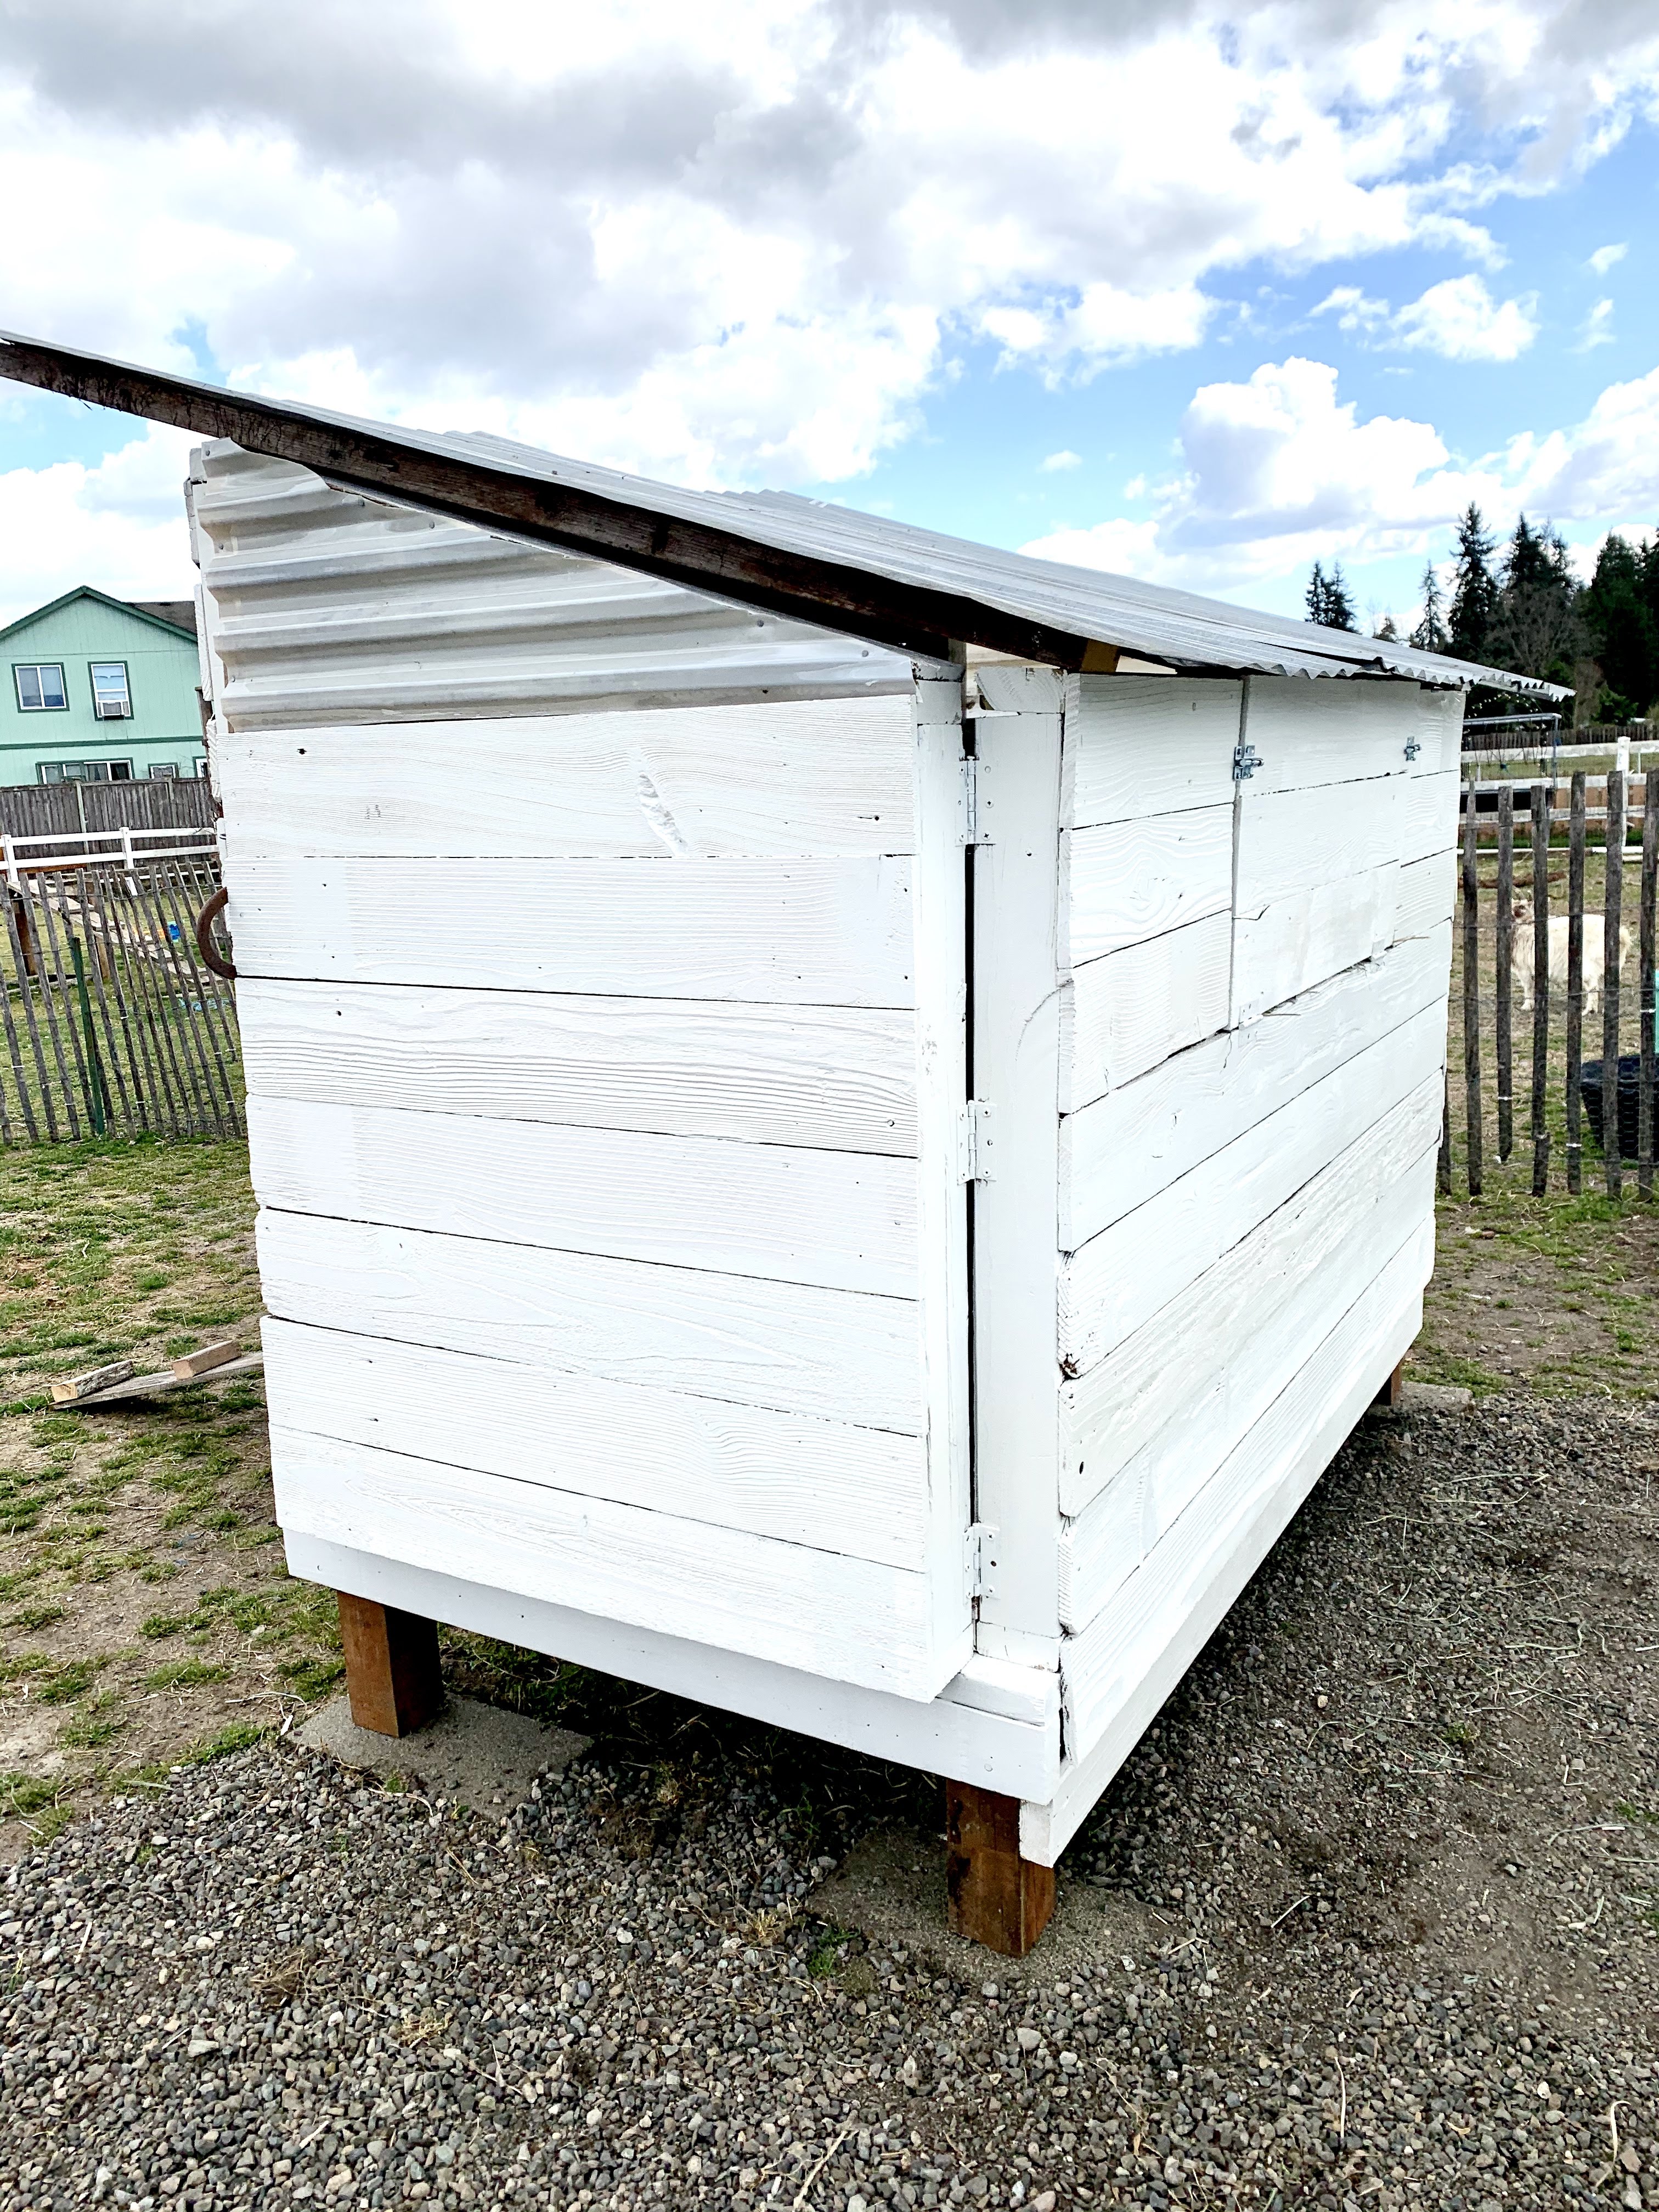
I grabbed an old horse shoe I had kept to use as a door handle. I love how it plays homage and respect to this space that was once home to my horses.

Still needs a roof and the egg door painted.

Finally I had all the interior work completed and we were ready for Thomas to install the roof! We repurposed the old metal roofing from our last coops covered run. He just had to cut it down with metal snips and screw in with our metal roofing screws.

and now all that was left was to put down some bedding, bring in the food, an extra water for locking them up at night, and then move the girls in! I put down a layer of sand and some hay for extra padding...even though they still have many weeks until they'll be laying I put some hay in the layer boxes to encourage them to hop in, check them out, and become comfortable and familiar with them. Their perch is an old branch from our lilac tree that the goats stripped. It was the perfect size and I was able to nail it into the studs. I chose the branch because I felt it would be more strengthening for their feet and more natural for them...plus it was free and I wanted to repurpose


When it was time for move in day, the girls went right in and made themselves at home. We are all so happy with how quickly they adapted and are loving their home. We’ve spent so much time out with them, trying to catch them, hold them, and get them to let us pet them - not so easy but fun nonetheless. Finnley loves the chickens but has no desire to hold them...Ellie and Séamus have no fear and love love love the chicks.


Seeing them out here, pecking around, exploring, and just living the life has been a dream come true. We’ve also got the chicken bug and are planning to add to the flock next year - 3 more hens and possibly a rooster. I still have to narrow down the breeds though I’m leaning towards at least 2 Copper Marans pullets and a Buff Orpington. I also love the fun look of Silky chickens so we might do some chicken math 😜 and then make the hard decision of what breed for the Rooster.


XOxo,
Ashley
No comments:
Post a Comment
I love reading your comments! They make my day! Make sure that your email is linked to your profile so I can email you back!
♥ Ashley